

How to Create Your Own Illustrated Recipe Cookbook - A Family Keepsake in the Making
How to Turn Recipes Into Art - and Memories That Last

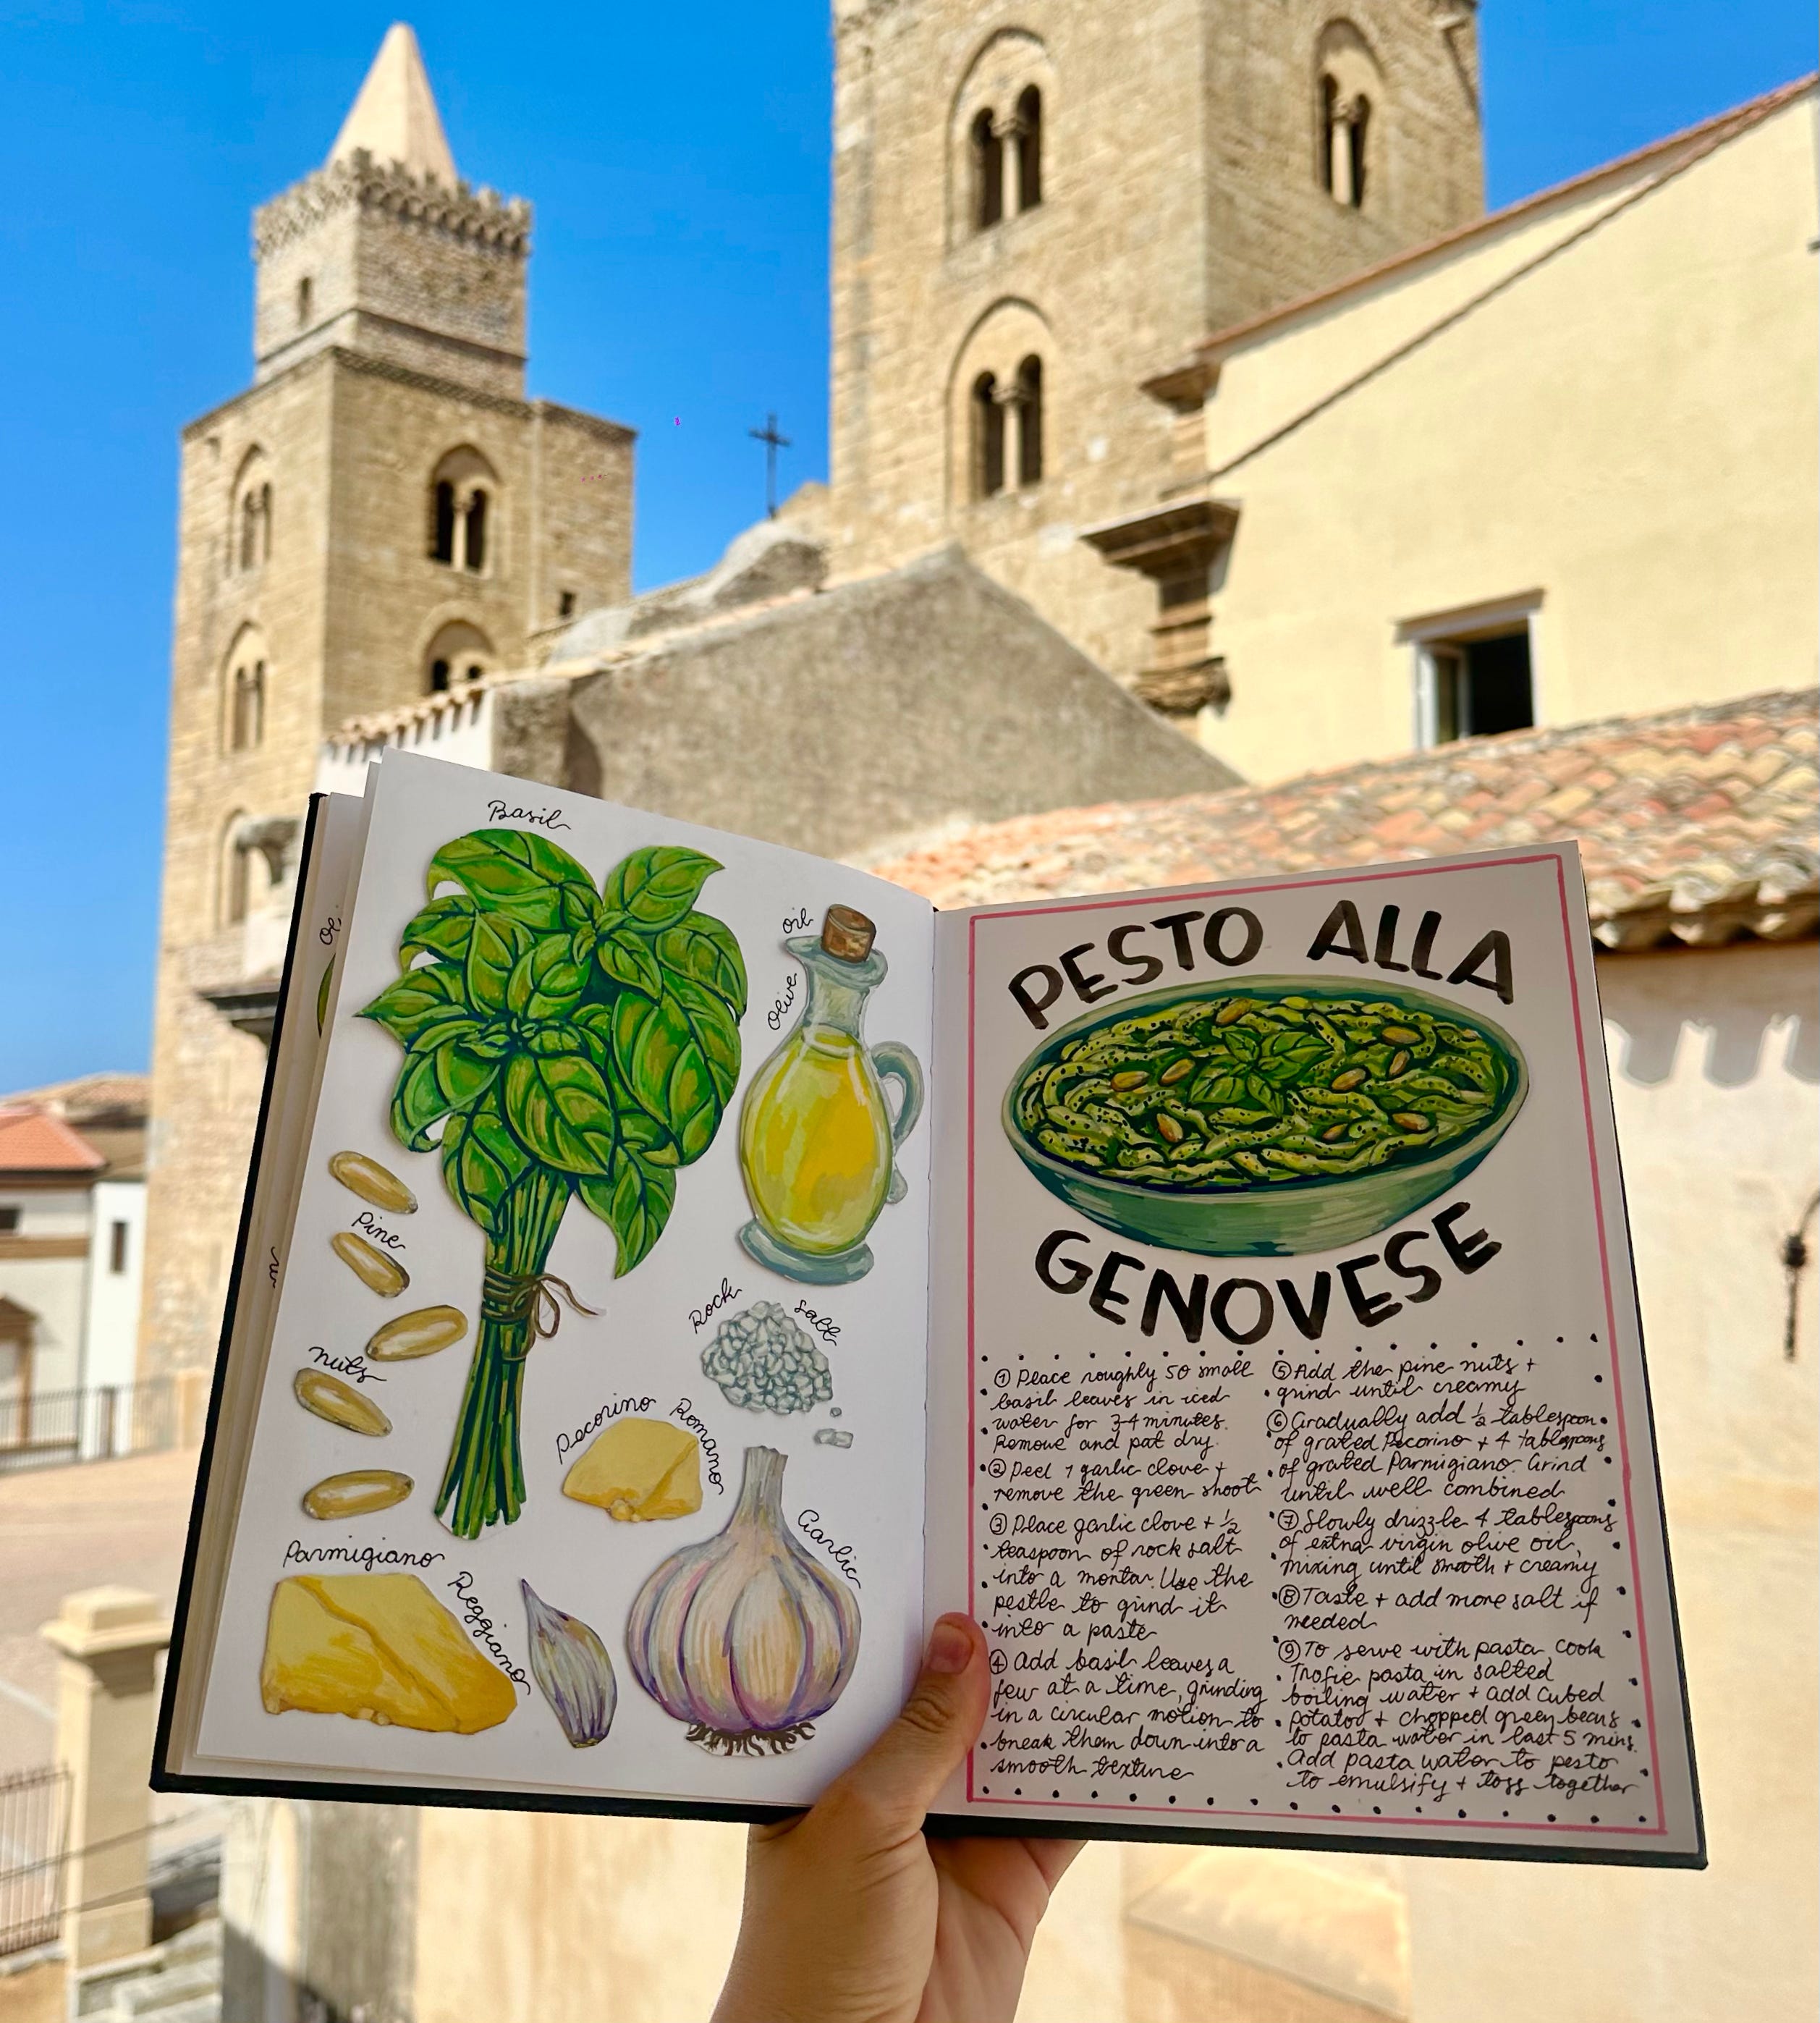
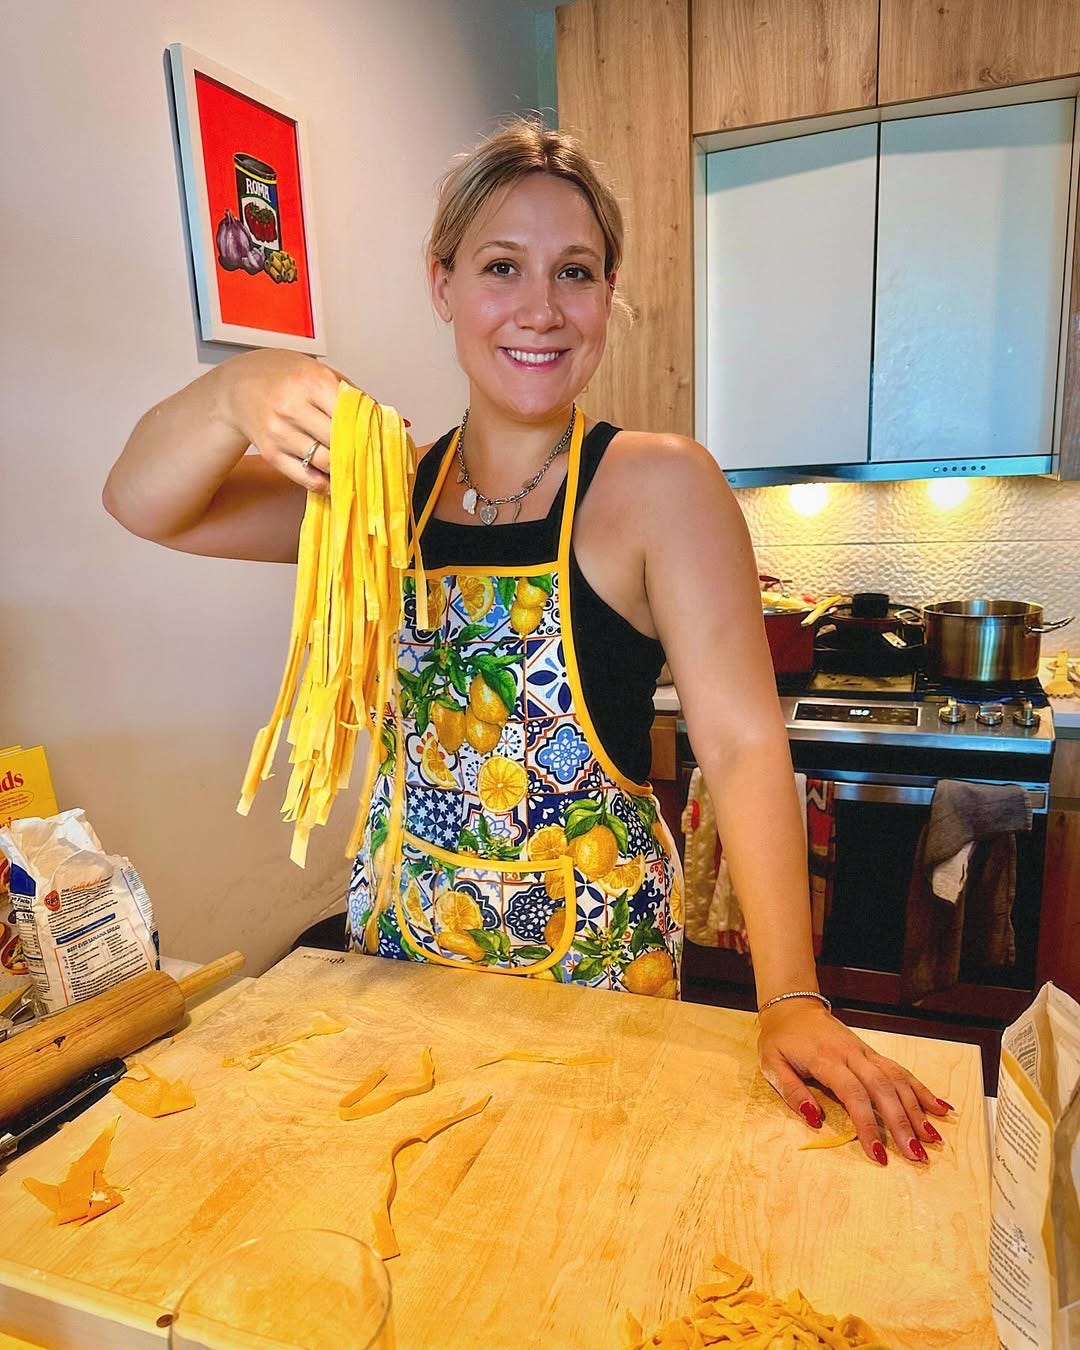
For the past year, I’ve been working on my own illustrated recipes cookbook, a personal project where I bring my favorite dishes and family recipes to life through hand-drawn art.
What started as a way to document meals visually has grown into a body of work that connects food, memory, and creativity. I’ve been pretty blown away by the reception it’s received online. The responses made me realize just how deeply everyone connects with food and cooking, and I think that shared experience is something really beautiful.
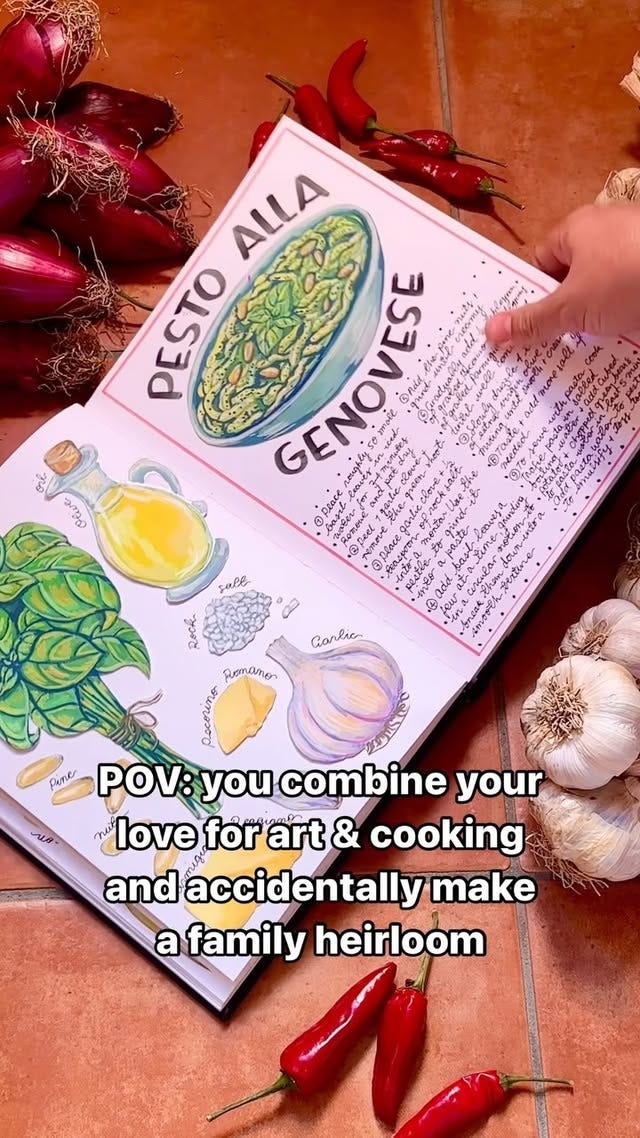
I’ve had so many people DM me photos of their own illustrated recipe cookbooks, full of their family recipes, and every single one of those messages brings me so much joy. Recipes are one of the purest ways someone’s memory can endure, and to help those connections persist through the simple act of jotting down a recipe is truly special.
It’s actually what inspired me to start my Cookbook Craft Club, a little community where we spend an evening eating, sipping, and illustrating the recipes that mean the most to us.

If you've ever dreamed of combining your love of food and art into something tangible, creating an illustrated recipes cookbook might be the perfect project for you. Whether you want to keep it for yourself, pass it down through your family, or eventually turn it into something you publish, here are my tried-and-true steps for bringing your own cookbook to life.
This is just how I do it, but you can absolutely make it your own. I’ll be sharing more tips soon on how to figure out your own format and style in a future Substack post. In the meantime, I hope you enjoy the nine tips I’ve put together below!

Step 1: Gather your tools
Start simple. You don’t need a full art store to begin (my craft cupboard is a cautionary tale). I use Shuttle Art acrylic markers (use code Bianca10SA for a 10% discount), an Ohuhu marker pad, card stock (80lb / 216gsm) scissors, a ruler, a pencil, and glue tape. These tools make it easy to draw, cut, and assemble pages without worrying about perfection.

Step 2: Choose your recipe
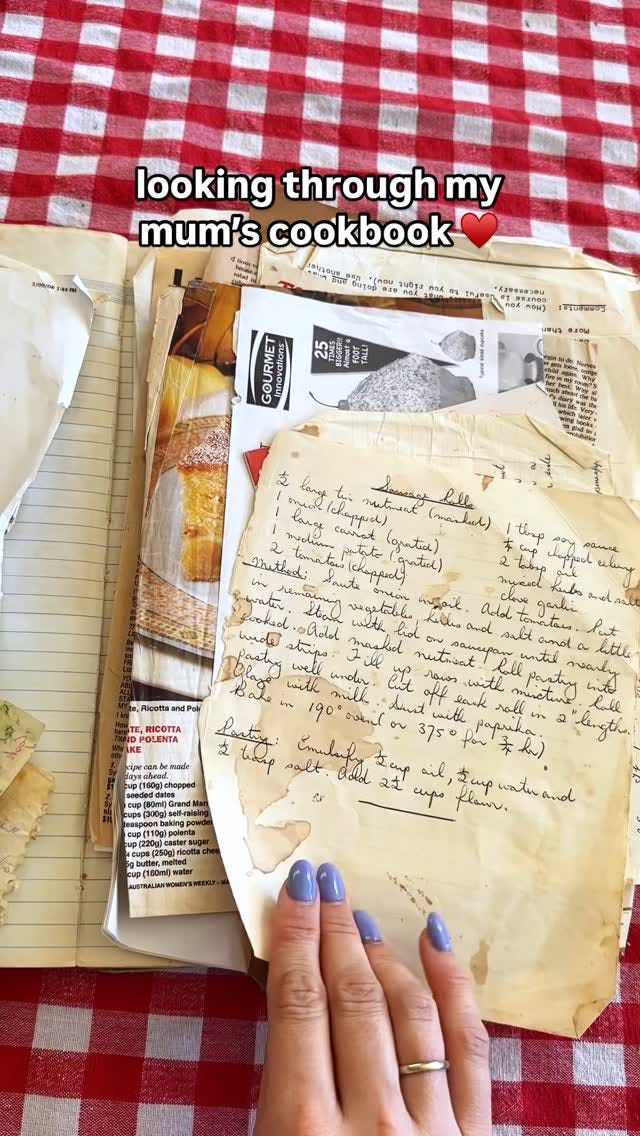
Pick a recipe that feels meaningful or exciting. It could be a go-to meal, a dish you’ve been meaning to try, or something personal like a family recipe. Calling a parent or grandparent for a favorite recipe can also be a beautiful way to make it feel even more special. Word of warning: don’t expect exact measurements - especially from Nonna. Her "just a handful" could feed a village.
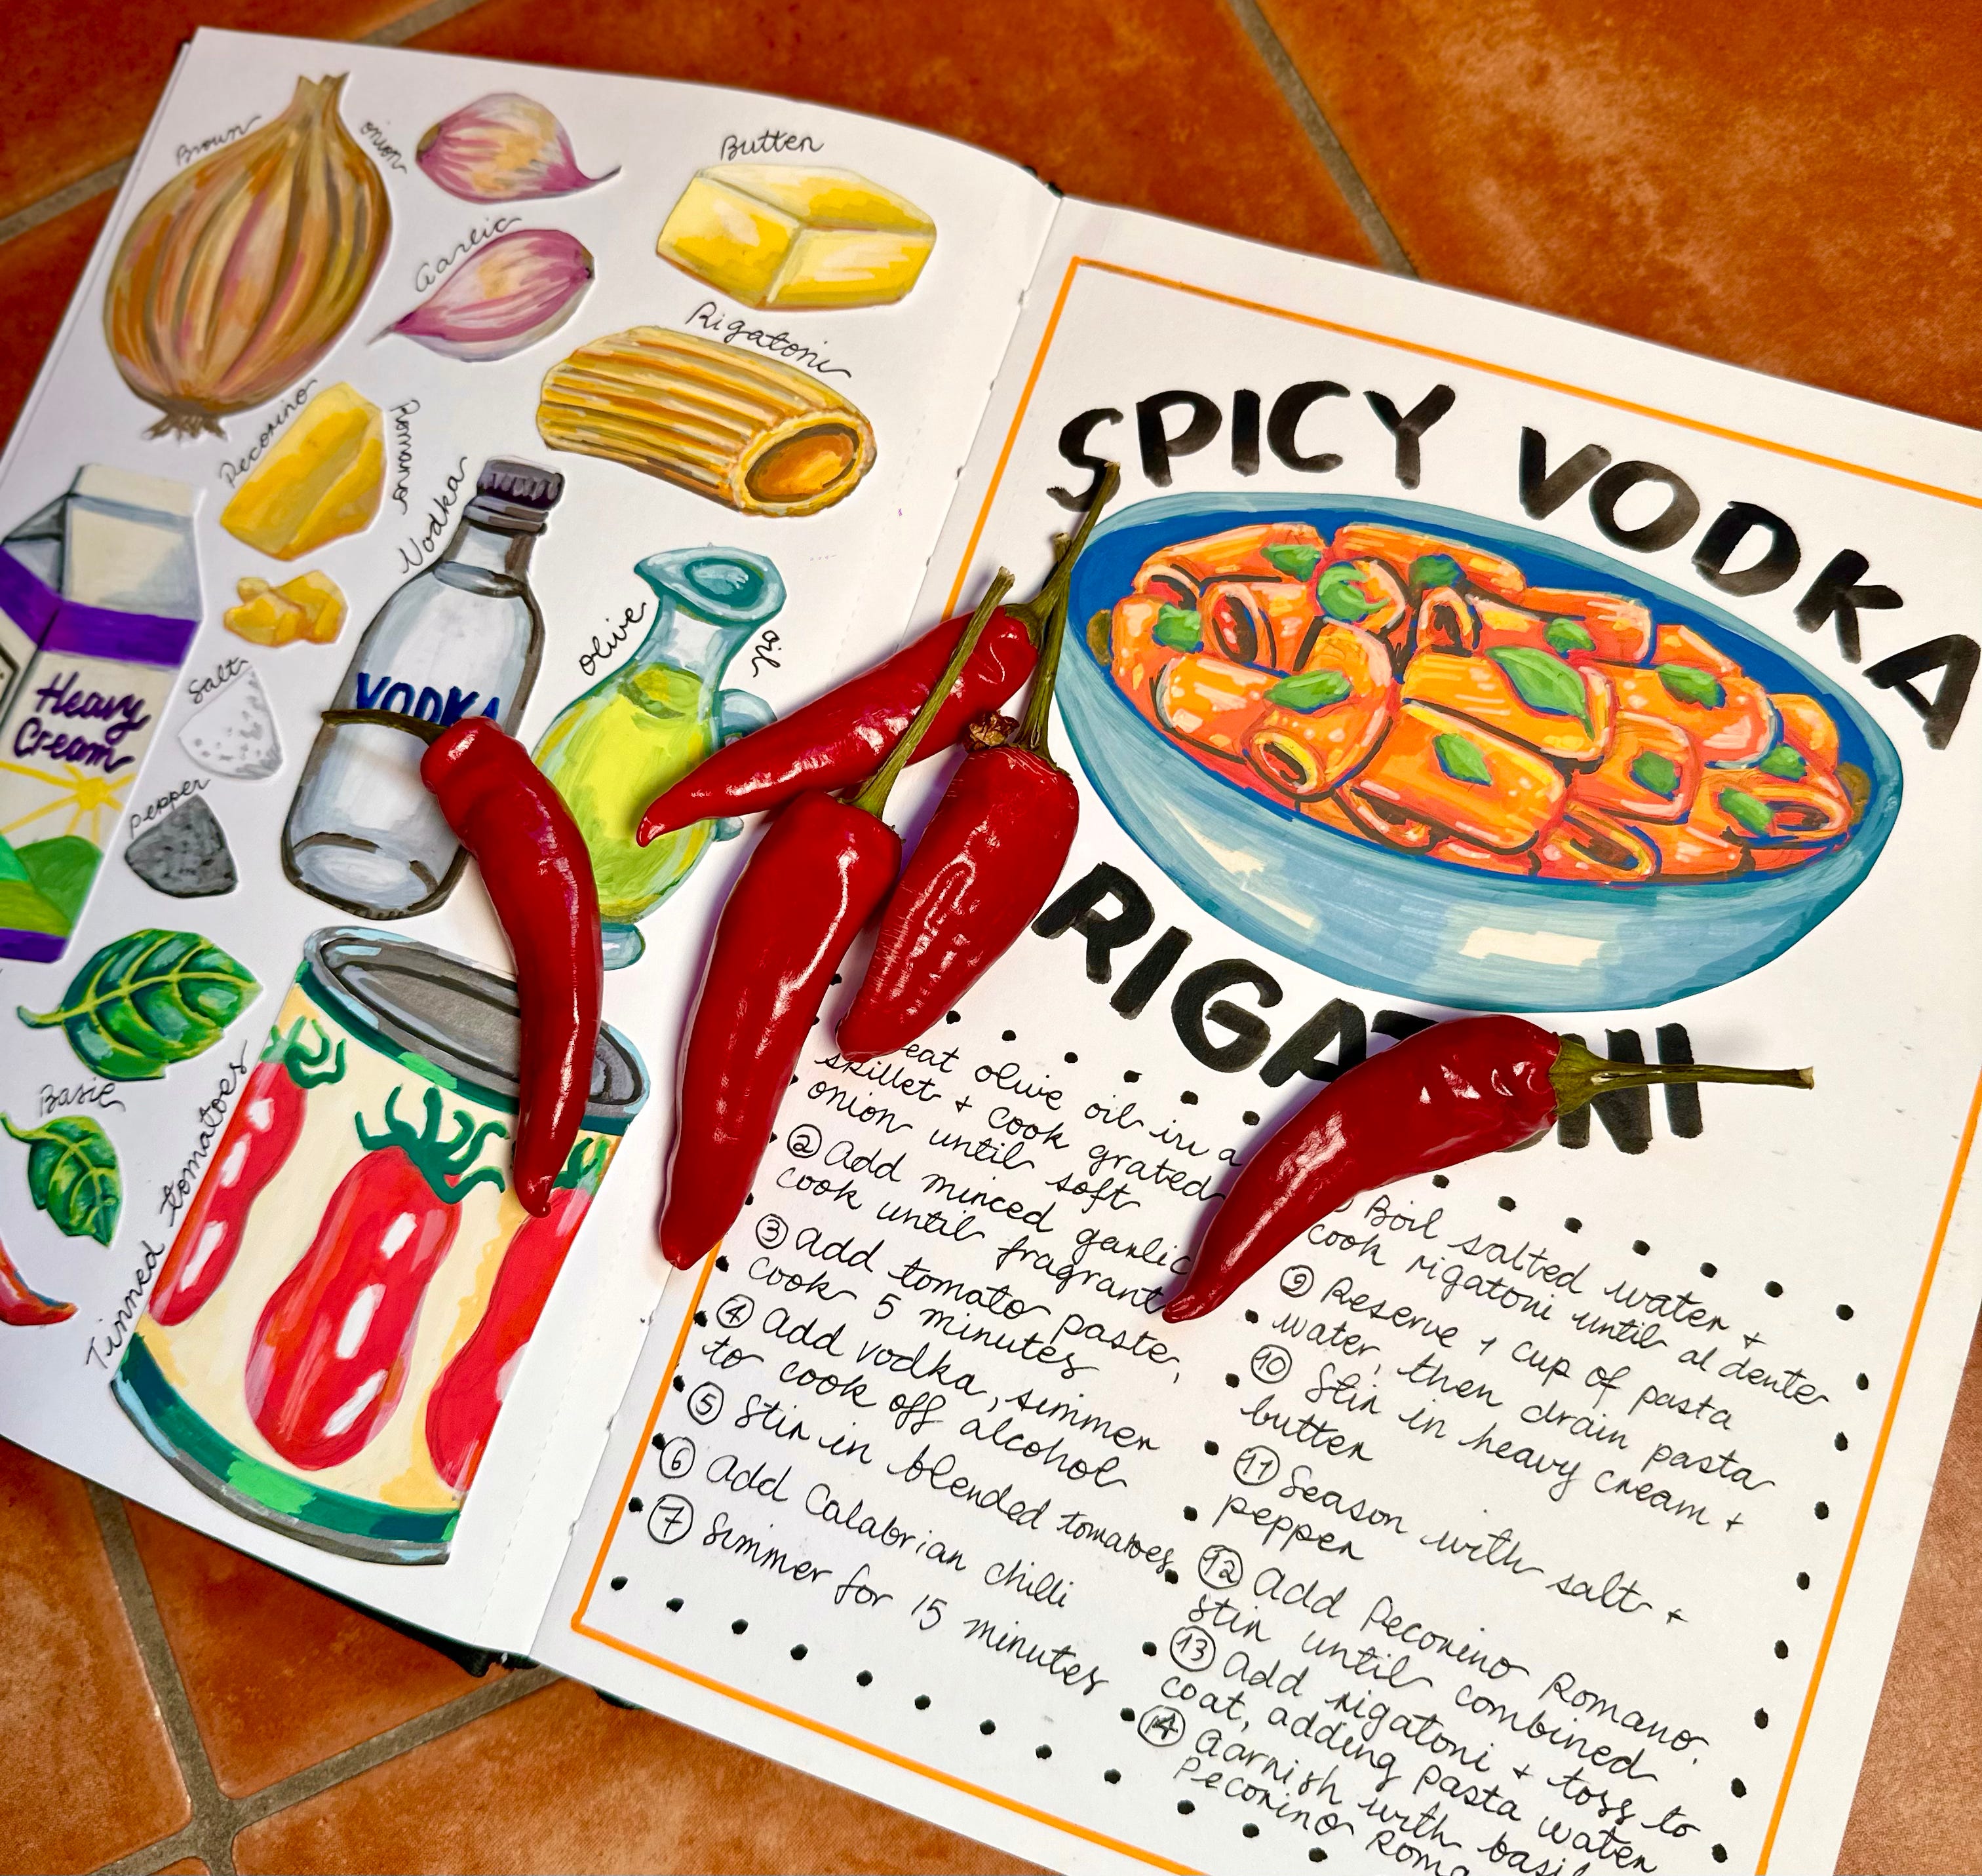
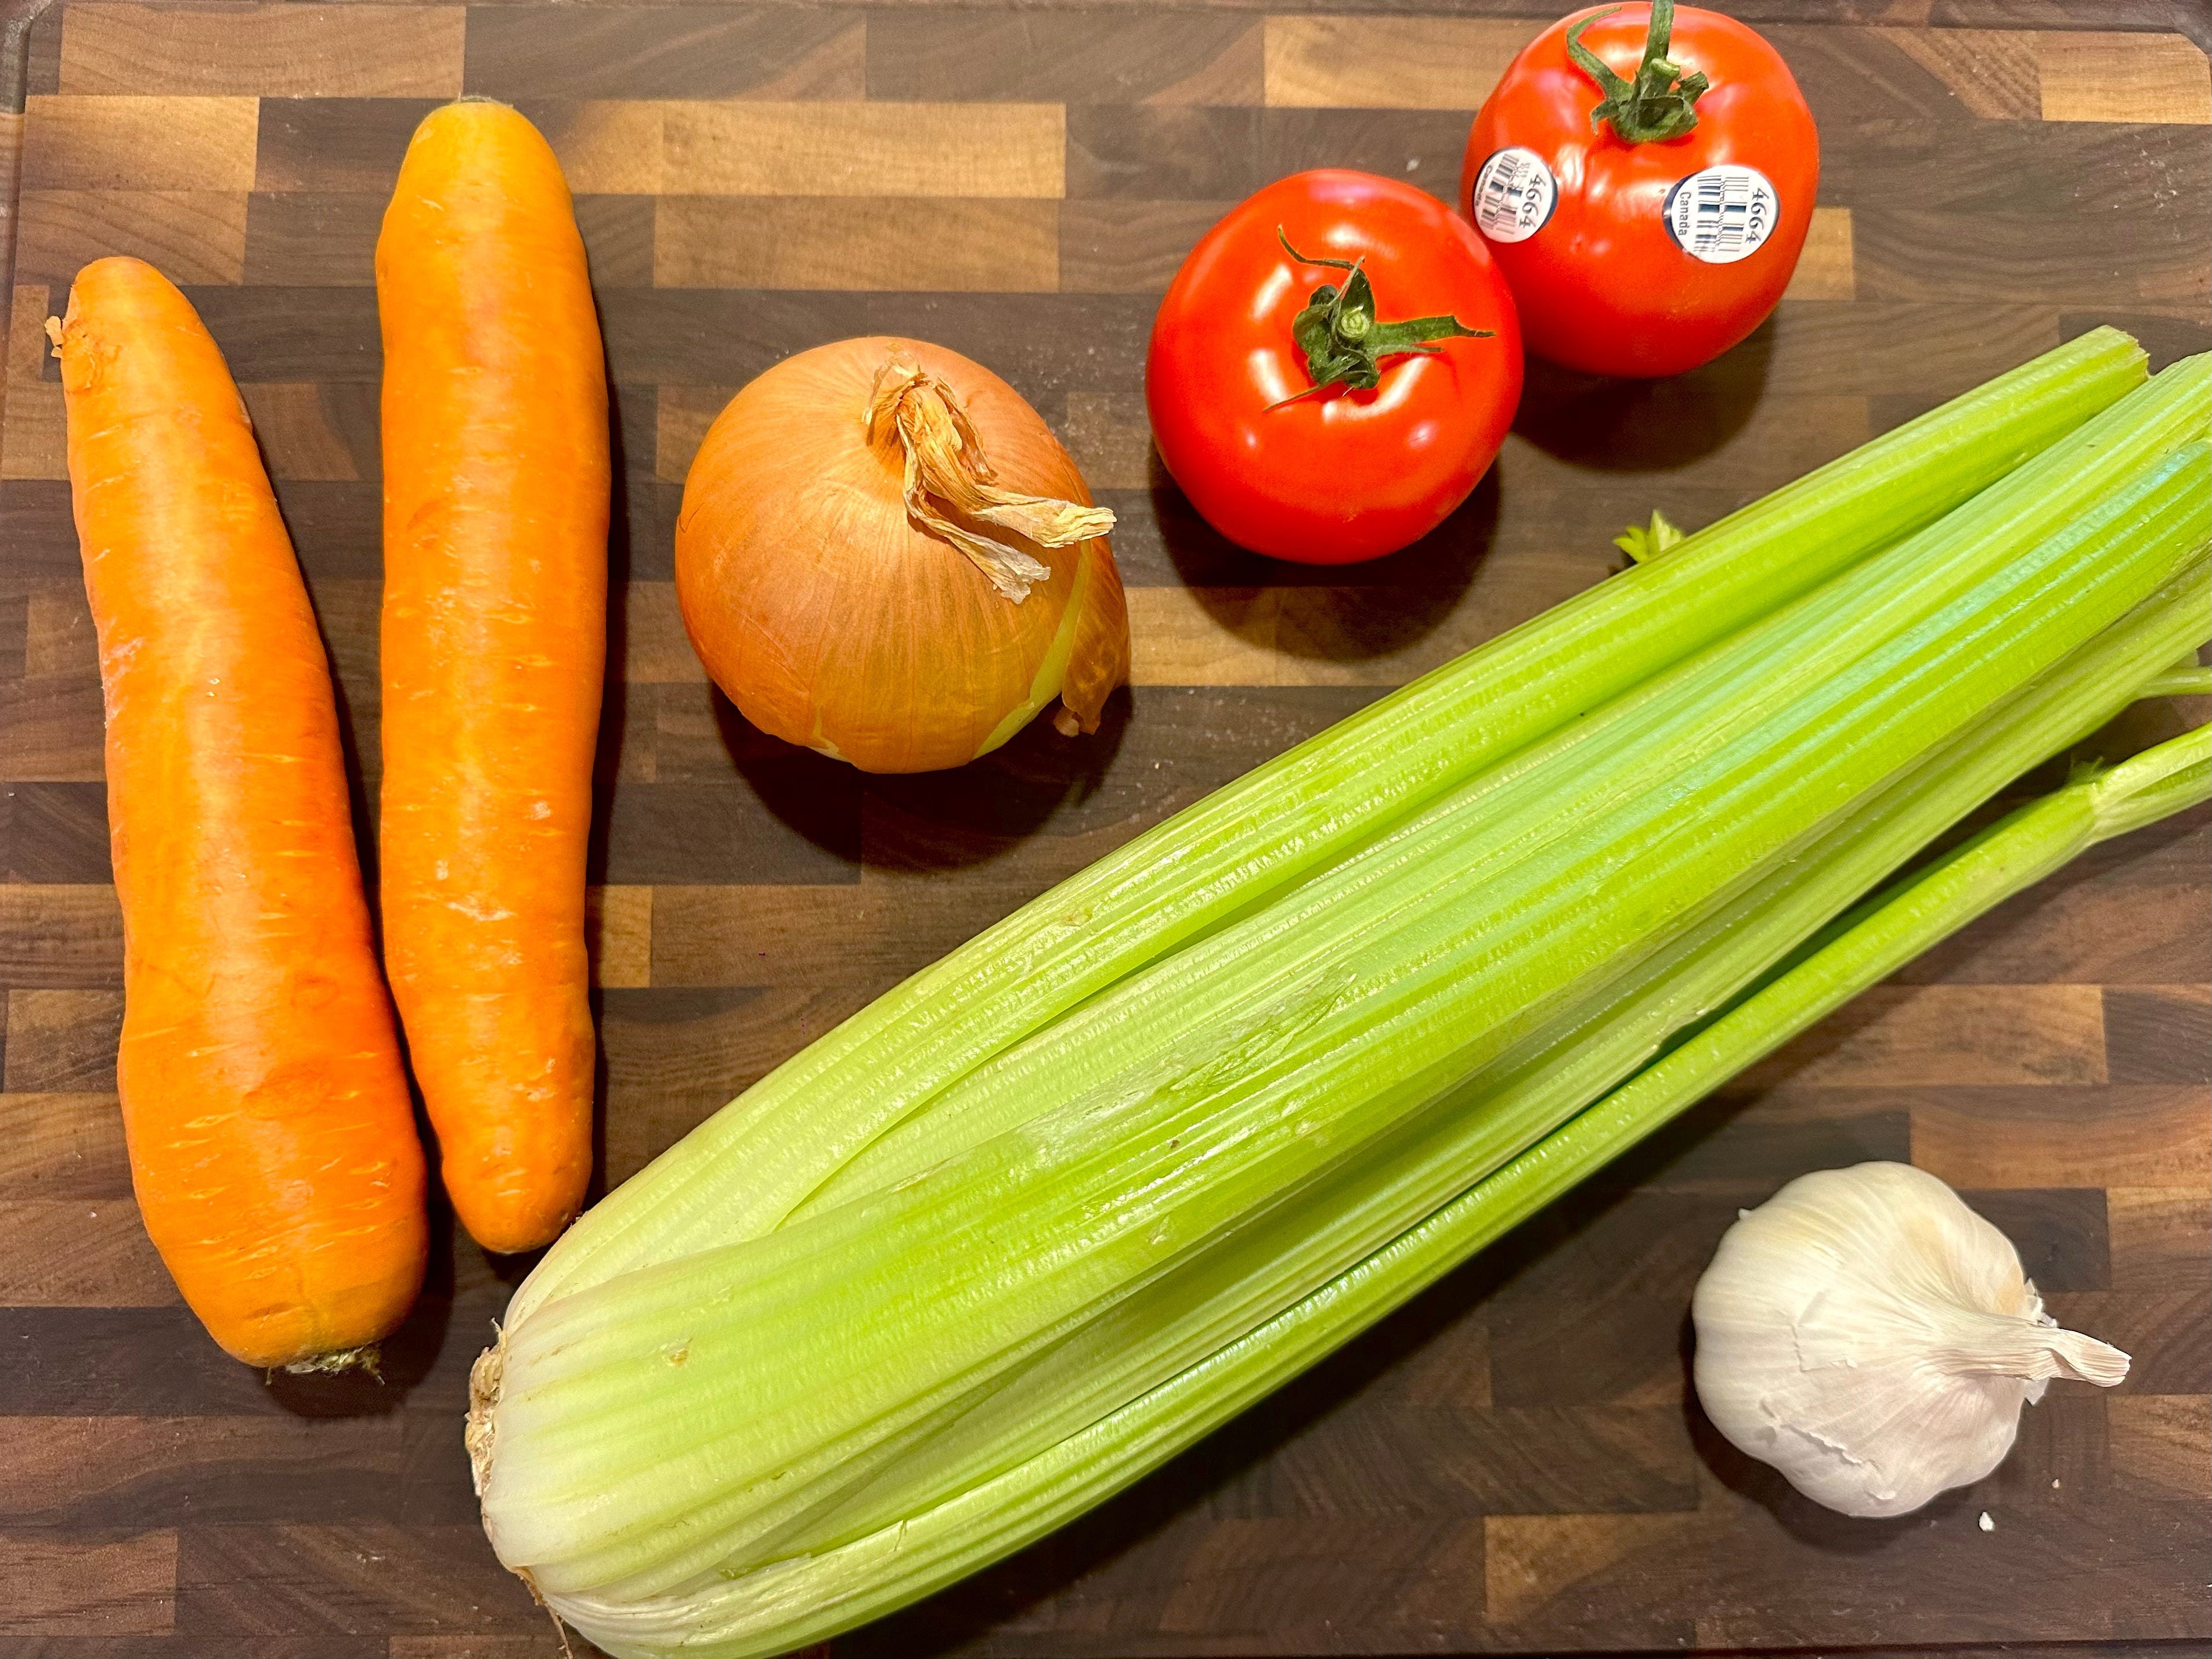
Step 3: Gather your ingredients and take photos of each one
Take clear photos of all your ingredients laid out individually. This will make your illustrations easier later. Pay attention to colors and shapes as these small details will make your drawings more vibrant.
Step 4: Make the recipe!
Cook naturally, without stressing about presentation. The beauty of this project is that it's real and personal, not staged or perfect. Plus, you can add those finer details via your illustration later.
Step 5: As you cook, write the recipe
Capture not just the ingredients and steps, but also any important tips, tweaks you make, shortcuts you use, or sensory notes (like "cook until golden" or “heat oil until it glistens'“). Sometimes I like to quickly sketch the visual of an instruction, like how big a slice of onion should be.
Step 6: Take a photo of the finished dish
This will serve as a reference when you draw later. Snap a few angles - sometimes a close-up shows more texture you might want to capture later.
Keep reading with a 7-day free trial
Subscribe to Midnight Spaghetti to keep reading this post and get 7 days of free access to the full post archives.